Showing posts with label Tutti Designs Blog Post. Show all posts

Wednesday, November 29, 2017

Happy Happy Joy Joy

Good Morning!
Back again for one final post on the Tutti Designs Blog.
 
I am so happy to have been a part of this wonderful Design Team here at Tutti Designs. 
So many wildly talented ladies!  Although I am leaving here I am always around. 
Thanks so much for everything.....especially you, Darlene! 
I am proud to call you my friend!  xoxo
 
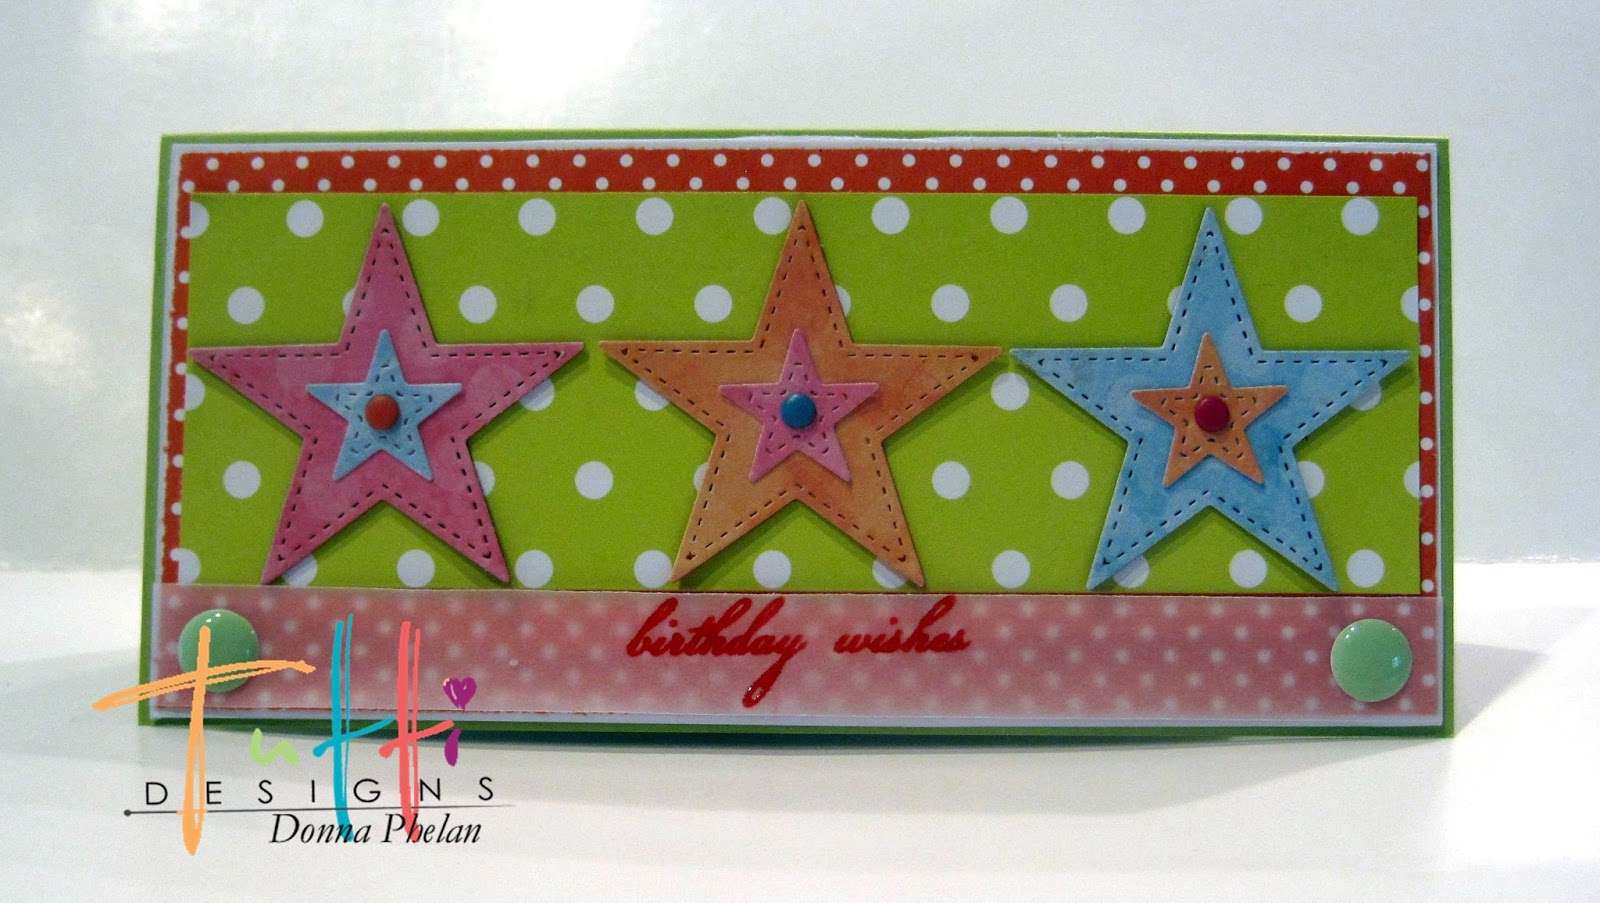
This card sums up my feelings to all things Tutti Designs!


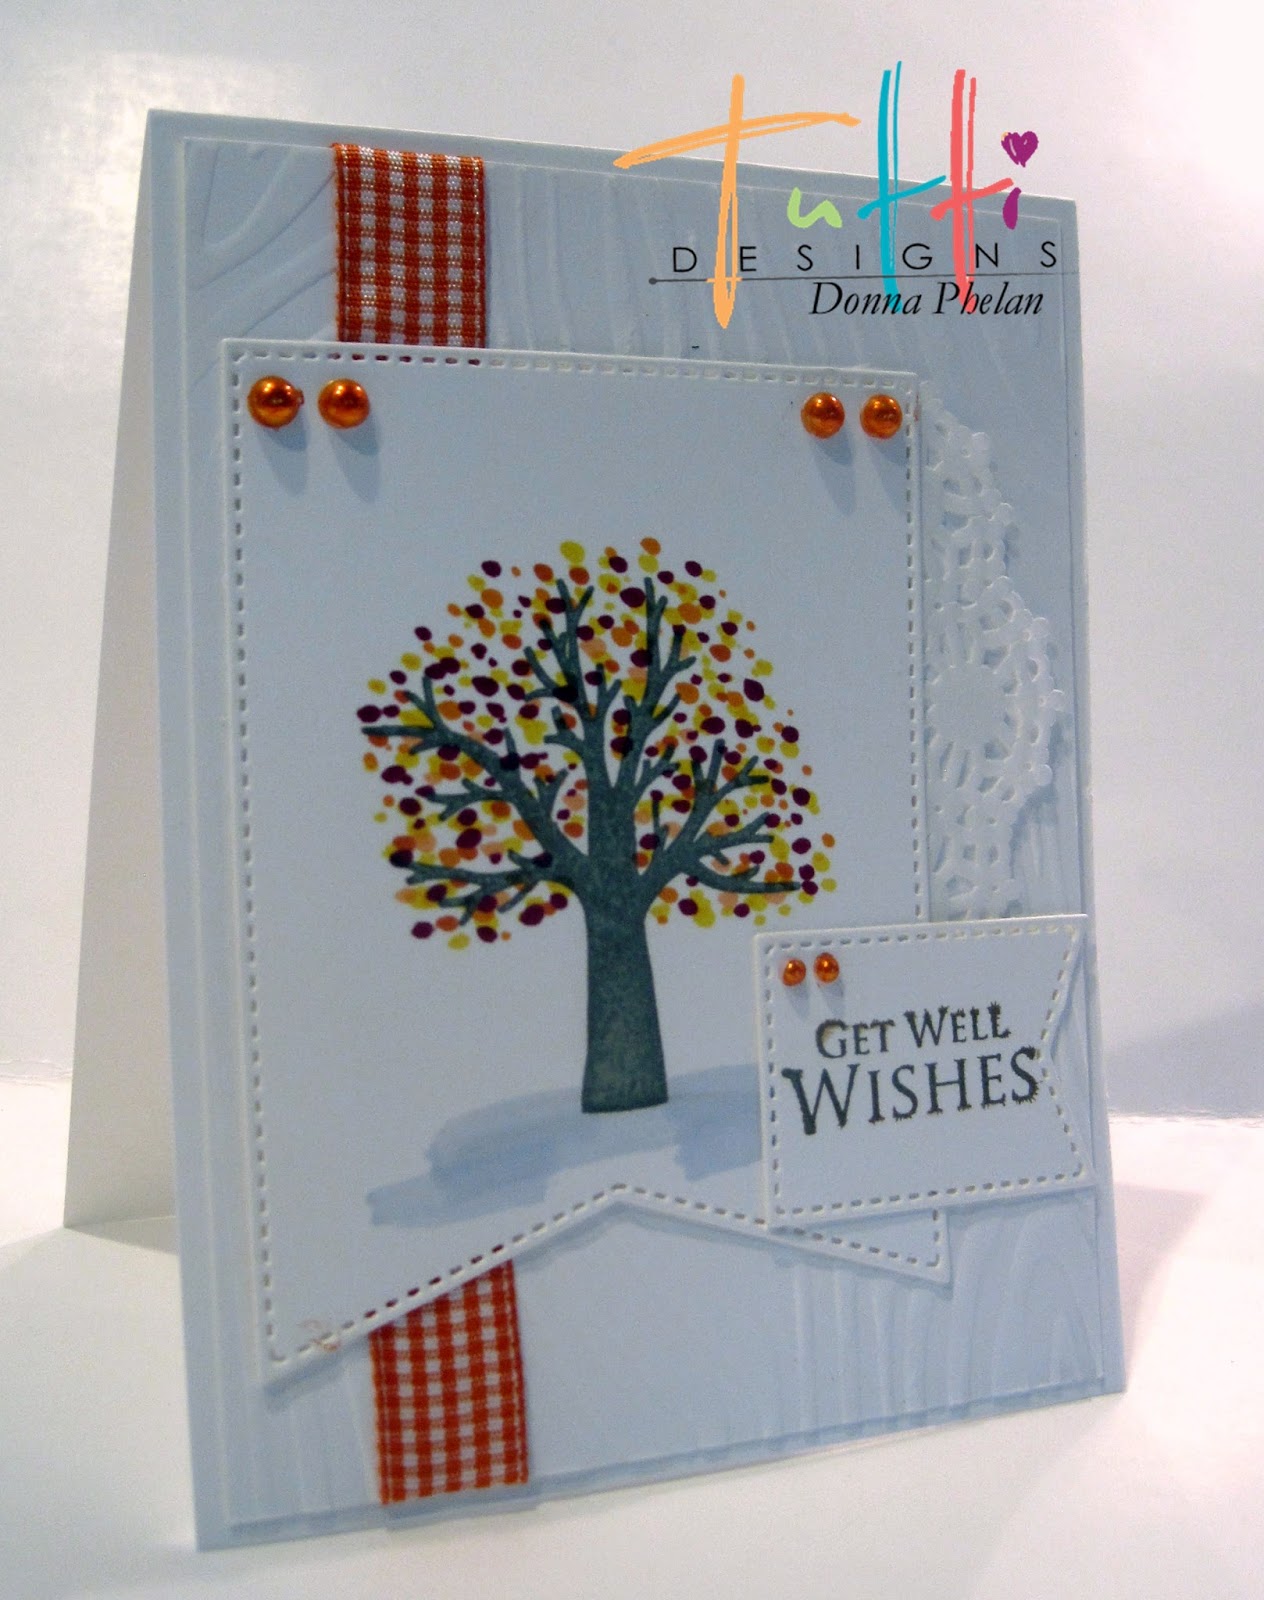
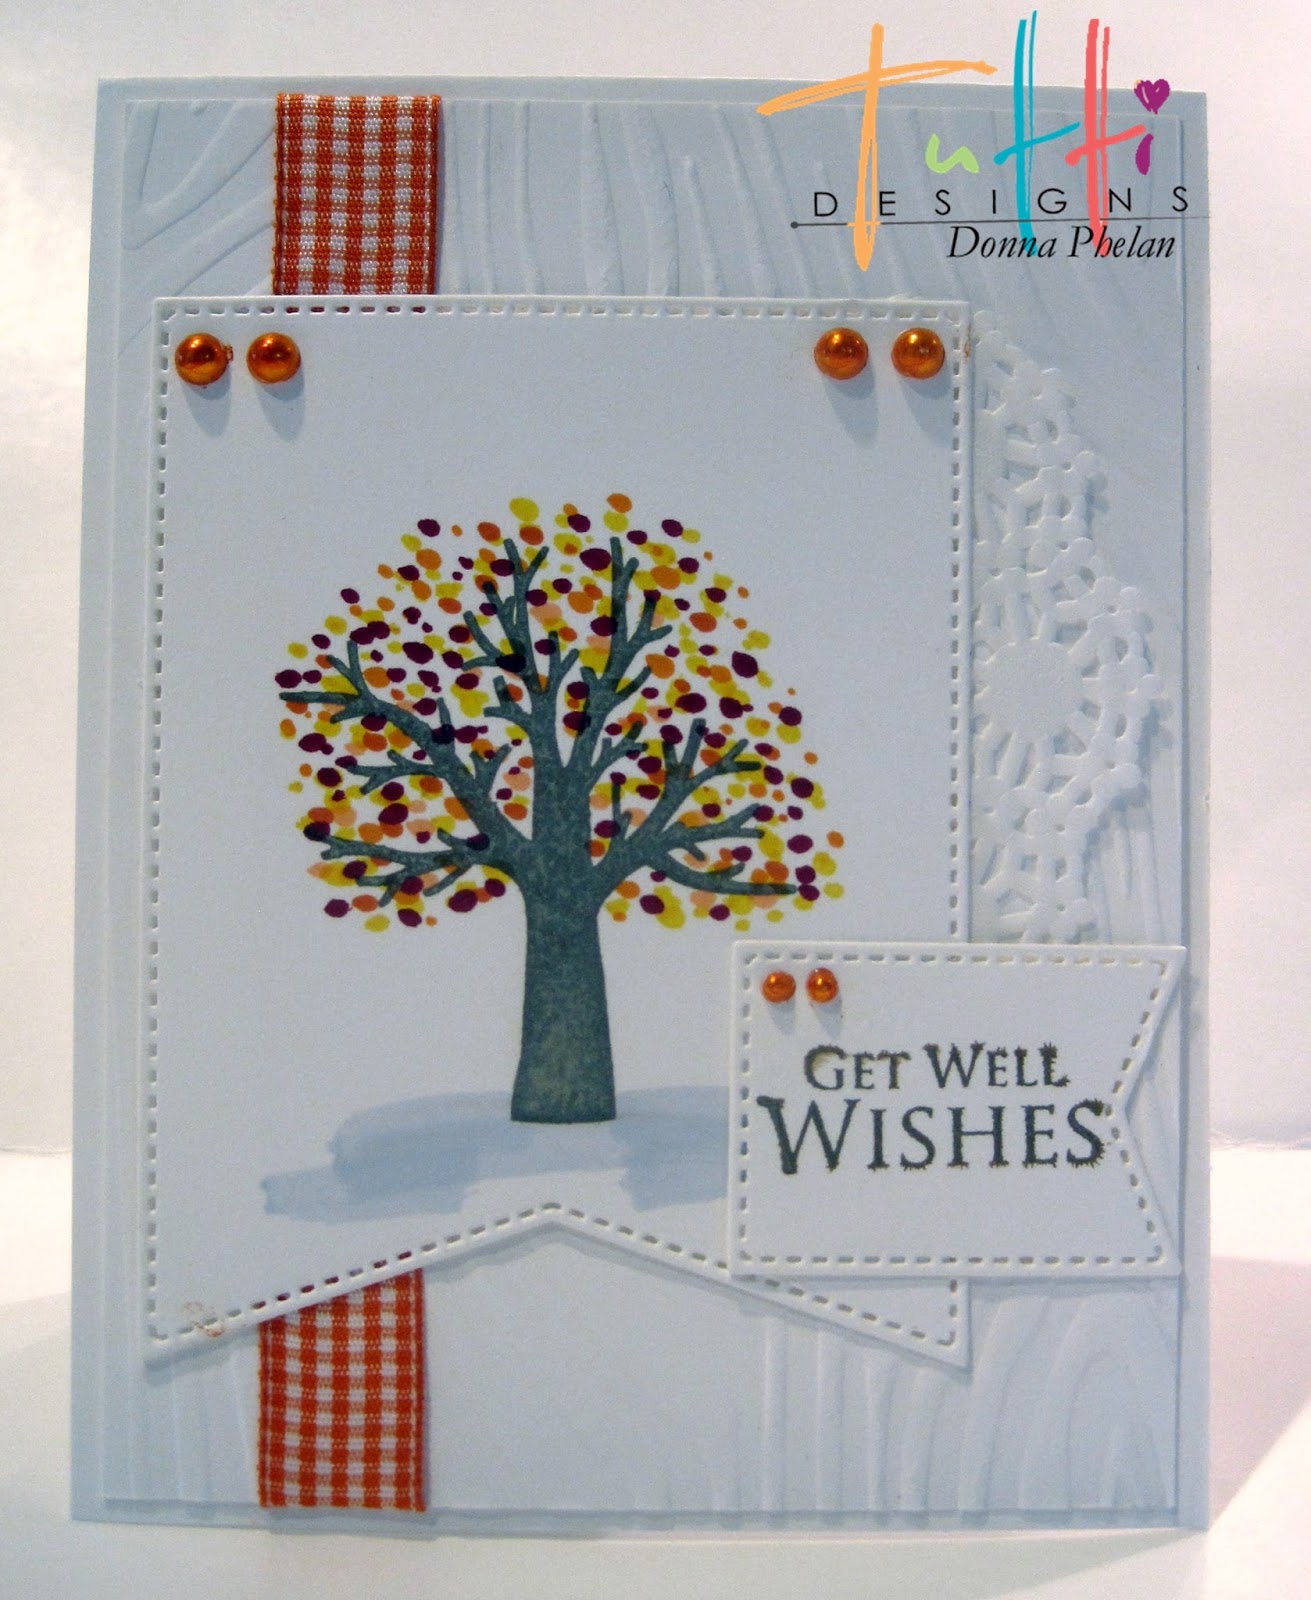
I used the fun Nesting Stitched Banners die set.  Aren't they great?!?  This set includes 7 dies.....SEVEN DIES!!!  That's amazing!  Perfect sizes for all of your card making needs!  Typically the banners are used vertically, here I have used them horizontally.  I die cut 5 and placed them on top of a piece of Teal and White Baker's Twine.  Reminds me of celebration flags you would see flapping in the breeze on a boat.


I splattered Heidi Swapp Color Shine in Sweet Mint on my White card stock panel.  Then stamping my sentiments in Calypso Coral and Melon Mambo inks.  Gina K Designs stamp sets; Let It Snow and Mistletoe Memories.  A very simple card to make, but I just loooooove it!  Nuvo Crystal Drops in Carnation Pink for accent.
 
 
Here's what I used:


Everyday you will find new and creative ideas right here, on the Tutti Designs Blog!

Need More?  Check out these Quick Links:


HAPPY
HAPPY
JOY
JOY
 
 
Thanks so much for everything!!!


Wednesday, November 22, 2017

Starry Birthday

Good Morning!
Back again on the Tutti Designs Blog.
 
I have a bright sunshiny Birthday card to share with you today!


I used these fantastic Nesting Stitched Stars from the Tutti Designs Store.  They are from the November 2016 Release.  A classic design that one NEEDS to have in their stash!  I cut 2 different sizes for each stitched star in pretty bright colored Designer Paper.  The larger star was also cut from a chip board like stock, which makes for a sturdier die cut.


My sentiment was stamped in Melon Mambo ink and the heat sealed using Clear Embossing Powder.  Always a must in my craft room to seal that ink in when using Vellum. 
I am a smudge magnet!  Gina K Designs Birthday Blessings stamp set.
 Candy Dots and Enamel Brads for accents.
 
This car measures 3 1/4" x 7".  Perfect for adding a wee bit of cash inside!
 
 
Here's what I used:


Everyday you will find new and creative ideas right here, on the Tutti Designs Blog!

Need More?  Check out these Quick Links:


Each Wednesday I will be back to share some new and creative card making ideas with you all!

Enjoy~~


Wednesday, November 15, 2017

Father And Daughter

Good Morning!
Back again on the Tutti Designs Blog.
 
 
This card was made with love, truly.  I have created it for my favorite son in law, Tim! 
(yes, you guessed it, I do only have one....but he is still my very most favorite!) 
My daughter, Lori, and her husband, Tim, just became first time parents
 to a beautiful little girl, Penelope Joy, on October 17th. 
When I saw this fabulous die in the Tutti Designs Store, I knew I had to have it!
 
Now, on with the show!


This card measures 5 1/2" x 5 1/2" and I will make a matching envelope for mailing.  I used this beautiful Father And Daughter die from the May 2017 Release.   I die cut it twice from Black card stock, layering the 2 together.  This gives the die a little bit more oomph for depth and dimension.


I displayed my die cuts and sentiment on hand cut panels and at a wonky angle.  I feel this gives the card a bit more interest too.  Adding a few accents using Sheer Ribbon and all manners of Adhesive Rhinestones.


I know this is a vision of what's to come.


Beneath the sentiment stamped in Raven Black ink,  I also stamped many little hearts in Pink Pirouette ink.  Gina K Designs stamp sets; Hand In Hand and Mommy To Be Diva.
A labor of love.


Here's what I used:


If you're in need of a Father And Son, then look no further than here:


Also from the May 2017 Release.


Everyday you will find new and creative ideas right here, on the Tutti Designs Blog!

Need More?  Check out these Quick Links:


Each Wednesday I will be back to share some new and creative card making ideas with you all!
 
 
Oh and you know I can not create a Post like this and NOT share
another picture of our precious little Penelope Joy!!!  (or 2 or 3...okay 4) lol


Enjoy~~


Wednesday, November 8, 2017

Get Well Wishes

Good Morning!
Back again on the Tutti Designs Blog
 
Today's card is a Get Well Wish using the fantastic Tutti Designs Nesting Stitched Banners die. 
 
 
It's clean.
It's simple.
It contains get well wishes.


I used 2 different sizes of the Nesting Stitched Banners dies,
one for my image and one for my sentiment. 
By just turning the die it creates an entirely different look, perfect for my Get Well Wishes
My tree was stamped in Walnut Oxide ink (as was my sentiment) and my pretty Fall Leaves were created by using a few different colored Copic Markers. 
 
The Pointillism Technique;
Pointillism /ˈpɔɪntɪlɪzəm/ is a technique of painting in which small, distinct dots of color are applied in patterns to form an image.


A couple of swipes with the wide end of my Copic Marker to create the ground beneath.  Adding a bit of texture using a Wood Grain Embossing Folder.  Orange and White Gingham Ribbon, Doily and Adhesive Pearls for accents.  I always buy White Adhesive Pearls in a bulk package.  Using my Copic Markers I can match any color to my card.

PTI; Through The Trees
GKD; All Occasion Tags
 
 
The only die set I used:


This card will be entered into the Challenge at Scrapy Land, Anything Goes.


Everyday you will find new and creative ideas right here, on the Tutti Designs Blog!

Need More?  Check out these Quick Links:


Each Wednesday I will be back to share some new and creative card making ideas with you all!


Wednesday, November 1, 2017

Scrolly Heart

Good Morning!
I'm  back on the Tutti Designs Blog again.
 
Today I am sharing two cards with you made with the same fabulous die, Tutti Designs Scrolly Heart from the November 2016 Release.  This die is so pretty and detailed it will make your heart skip a beat!


I created a bit of a Shabby Chic design, distressing and peeling back the edges of my double sided Designer Paper.  The star of the show, the Scrolly Heart die, was cut from White card stock and then sponged lightly with  Melon Mambo and Pink Pirouette inks.  I backed it with Pink card stock, which was fussy cut.


My sentiment is by PTI, Swoosh stamp set and stamped in Melon Mambo ink on to a Vellum Strip.  I then covered it in Clear Embossing Powder and heated it, I do this every time I stamp on to Vellum.  I am notorious for having smudges!  Accented with Adhesive Pearls, Sheer Pink Ribbon, Heart Button, Twine and Mini Clothespin. 


My second card is basically the exact same, only this time I used my Scrolly Heart die as a stencil
I bought this new product (to me) Cut-Your-Own Stencils Material by Stencil Ease, found at my local craft store.  I got 10 sheets, 12" x 17.5" for only $4.00.  The original price was $9.99 but I used a 60% off coupon!  What a great deal! 
 
Here's what the die and cut stencil look like.
Check out all of that AMAZING detail!!!
 
 
The Scrolly Heart die cut the stencil material like buttah!


Second card same as the first using the stencil.


The only die I used:


Everyday you will find new and creative ideas right here, on the Tutti Designs Blog!

Need More?  Check out these Quick Links:


Each Wednesday I will be back to share some new and creative card making ideas with you all!

Enjoy~~


Wednesday, October 25, 2017

Bird Tapestry

Good Morning!
Back again on the Tutti Designs Blog
 
When I saw this gorgeous Bird Tapestry die I knew I could use it for several different types of cards.  It would work well for a Wedding card or Sympathy.  And here I have used it as a Christmas card.  I love the unique dies the Tutti Designs Store has to offer and I love the wide variety of uses you can get from ONE die.  That's more bang for your money for sure!


Check out the size of that die cut,
it covers the entire front of my card, which is an A2, 4 1/4 x 5 1/2 inches. 
 
I adore that pretty detailed die cut border framing in the beautiful birds and flourishes.  I only added a bit of Sheer Ribbon and some Adhesive Rhinestones as accents.  Using the traditional Red, Green and White Christmas color combo, really puts the Merry into this Christmas card.


The birds in flight are so magical.  My Rhinestones hi-light the pretty posies.
 
I am letting the die do all of the work, just letting it shine in all it's glory!


Everyday you will find new and creative ideas right here, on the Tutti Designs Blog!

Need More?  Check out these Quick Links:


Each Wednesday I will be back to share some new and creative card making ideas with you all!

Enjoy~~


Wednesday, October 18, 2017

Thanks

Good Morning!
Back again on the Tutti Designs Blog.
 
I have made 3 super simple Thank You cards. 
The Tutti Designs dies are so detailed and intricate
that you really don't need much else
to make pretty creations to send to people. 
Check these out, you'll see what I mean!


Turquoise Thanks.


I used the Swirly Thanks die in three different colors.  I only add a bit of texture with a Swiss Dots Embossing Folder, a strip of Designer Paper and a few small Adhesive Pearls.  Just check out the beauty of that Swirly Thanks die.  The font, the flourish and the pretty flowers.  Super pretty!


Green Thanks.


Pink Thanks.


Super Easy.  Super Pretty.


Everyday you will find new and creative ideas right here, on the Tutti Designs Blog!

Need More?  Check out these Quick Links:


Each Wednesday I will be back to share some new and creative card making ideas with you all!

Enjoy~~


Wednesday, October 11, 2017

Birthday Flowers

Good Morning!
Back again on the Tutti Designs Blog
 
Today I have a lovely Birthday card to share with you, complete with Birthday Flowers!


I used the fantastic Tutti Designs die, Birthday Flowers.  This pot of beautiful Tulips will make any birthday HAPPY!  Here I cut the die from White card stock and then colored it with Copic Markers.  I backed the lone tulip and pot with corresponding card stock.  But you know me, I didn't stop there!  I then covered the entire cut in Versa Mark ink and Clear Embossing Powder.  Heated it.  The sheen and texture of doing this technique is sooooo good! 
 
If you haven't tried it before, you really should.  NO.....REALLY!!!


Layered it on to White card stock and then Black.  Stamped my Happy Birthday sentiment from Gina K Designs, Pleasant Plurals in Raven Black ink on to my Pink base and layered them all together. 
 
Quick.  Easy. Clean.  Beautiful.


Part of the March 2017 Release
 
 
Everyday you will find new and creative ideas right here, on the Tutti Designs Blog!

Need More?  Check out these Quick Links:


Each Wednesday I will be back to share some new and creative card making ideas with you all!

Enjoy~~


Wednesday, October 4, 2017

Fabulous Friend

Good Morning!
Back again on the Tutti Designs Blog
 
I have a pretty little card to share with you today!


I used the fabulous Fluttering Butterfly Corner die for my card.  I die cut it from White card stock and then colored it with Copic Markers.  After that I covered the entire cut in Versa Mark ink and added Clear Embossing Powder, heat setting it all.  I love doing this to a colored die cut.  It makes for a lovely look.  Added a FAB sentiment from Gina K Designs, Poster Board Sentiments, stamped in Tempting Turquoise ink, and some matching Enamel Brads to complete my look. 
 
The Tutti Dies make card making easy peasy! 
Every die is so pretty and detailed, you don't need much more to create a card. 


This Fluttering Butterfly Corner  die was in the  August 2016 Release along with many other fabulous dies.  You should definitely check them all out!


Everyday you will find new and creative ideas right here, on the Tutti Designs Blog!

Need More?  Check out these Quick Links:


Each Wednesday I will be back to share some new and creative card making ideas with you all!

Enjoy~~


Wednesday, September 27, 2017

Black Cat Slider

Good Morning!
Back again on the Tutti Designs Inspiration Blog.
 
Another spooky Halloween card to share with you today! 
 
This was a very FUN card to create!


I die cut this Black Cat die from Black Glitter paper.  I added some very thin Scor Tape to the back of this die cut to make sure the intricate detailed pieces in the cat's body actually stayed put.  I like this look as it adds texture and interest.  Then I was at a loss.....what to do with him? 
 
Oooh I know, make a slider card!  And that's what I did! 


I watched a few You Tube Videos to make this, hand cutting the slider channel which is hidden.  I was quite pleased with how easy it actually was to create.  The Black Cat just goes creeping along searching for his next prey, not even paying attention to the ravens in the trees or the bats below.
 
  Perhaps he is searching for YOU!  Eeeeeeeek!


On the inside I did want to show you how beautifully detailed this Black Cat really is.  Think about this, 2 looks for the price of one!  Pretty cool!
 
Eyelet and Ribbon for my pull tab and a Gina K Designs sentiment for the Wicked stamp set.
 
Spooky Good Fun!


Everyday you will find new and creative ideas right here, on the Tutti Designs Blog!

Need More?  Check out these Quick Links:


Each Wednesday I will be back to share some new and creative card making ideas with you all!

Enjoy~~


Wednesday, September 20, 2017

Tree With Lantern

Good Morning!
 
Moving into some Halloween FUN!  The new August Release has so many fabulous and spooky dies to create all things Halloween. 
 
Run right over to the Tutti Designs Store and check them out!  They are frighteningly good!  Mwahahahahaha


I found some crazy Halloween Designer Paper in my stash and I went from there.  I hand cut a tag to incorporate the size of this FUN Tree With Lantern die.  Layering it in Black and White card stock, sponging the edges to give it a more rustic flavor and feel.  The die was cut from Black Glitter paper and once again from Orange.  That sweet little Pumpkin Lantern was layered on to the Black.


Purple Rhinestones, Orange Baker's Twine, Orange Eyelet and some Nuvo Crystal Drops in Ebony for my accents.  I am not even bothered by that smeared drop, it's a Halloween card, something has to be wrong, right?


Everyday you will find new and creative ideas right here, on the Tutti Designs Blog!

Need More?  Check out these Quick Links:


Each Wednesday I will be back to share some new and creative card making ideas with you all!

Enjoy~~


Wednesday, September 13, 2017

Birdhouse Garden

Good Morning!
 
 
A little change of pace for me today.  This card showcases an oldie but a goodie Tutti Designs die, Birdhouse Garden, which was released back in the October Release of 2016.
 
I love this die, because it reminds me of putting my own gardens to bed for the upcoming season.  I adore Fall and all it brings, even if my pretty blooms go dormant for a while!


Once again I cut this beautiful Birdhouse Garden die from White card stock.  I colored it using Copic Markers.  I also added some Pink and White card stock to the back of the birdhouses and the pretty yellow flowers.  This technique gives a bit more oomph to your die cut.  Then I added Versa Mark ink to the entire die cut, coating in clear Embossing Powder and heating.  This always adds such a nice shine to what you are creating AND it makes your die cut look like a pretty embellishment.  If you do this with many layers it becomes an absolute gorgeous chipboard like piece......which as you all know, adds depth and dimension. 


As I only cut one layer, this is still a nice flat card for easy (no extra postage) mailing. 
Gotta love that!


Everyday you will find new and creative ideas right here, on the Tutti Designs Blog!

Need More?  Check out these Quick Links:


Each Wednesday I will be back to share some new and creative card making ideas with you all!

Enjoy~~