Saturday, December 30, 2017

Poinsettia Thank You

Back again!

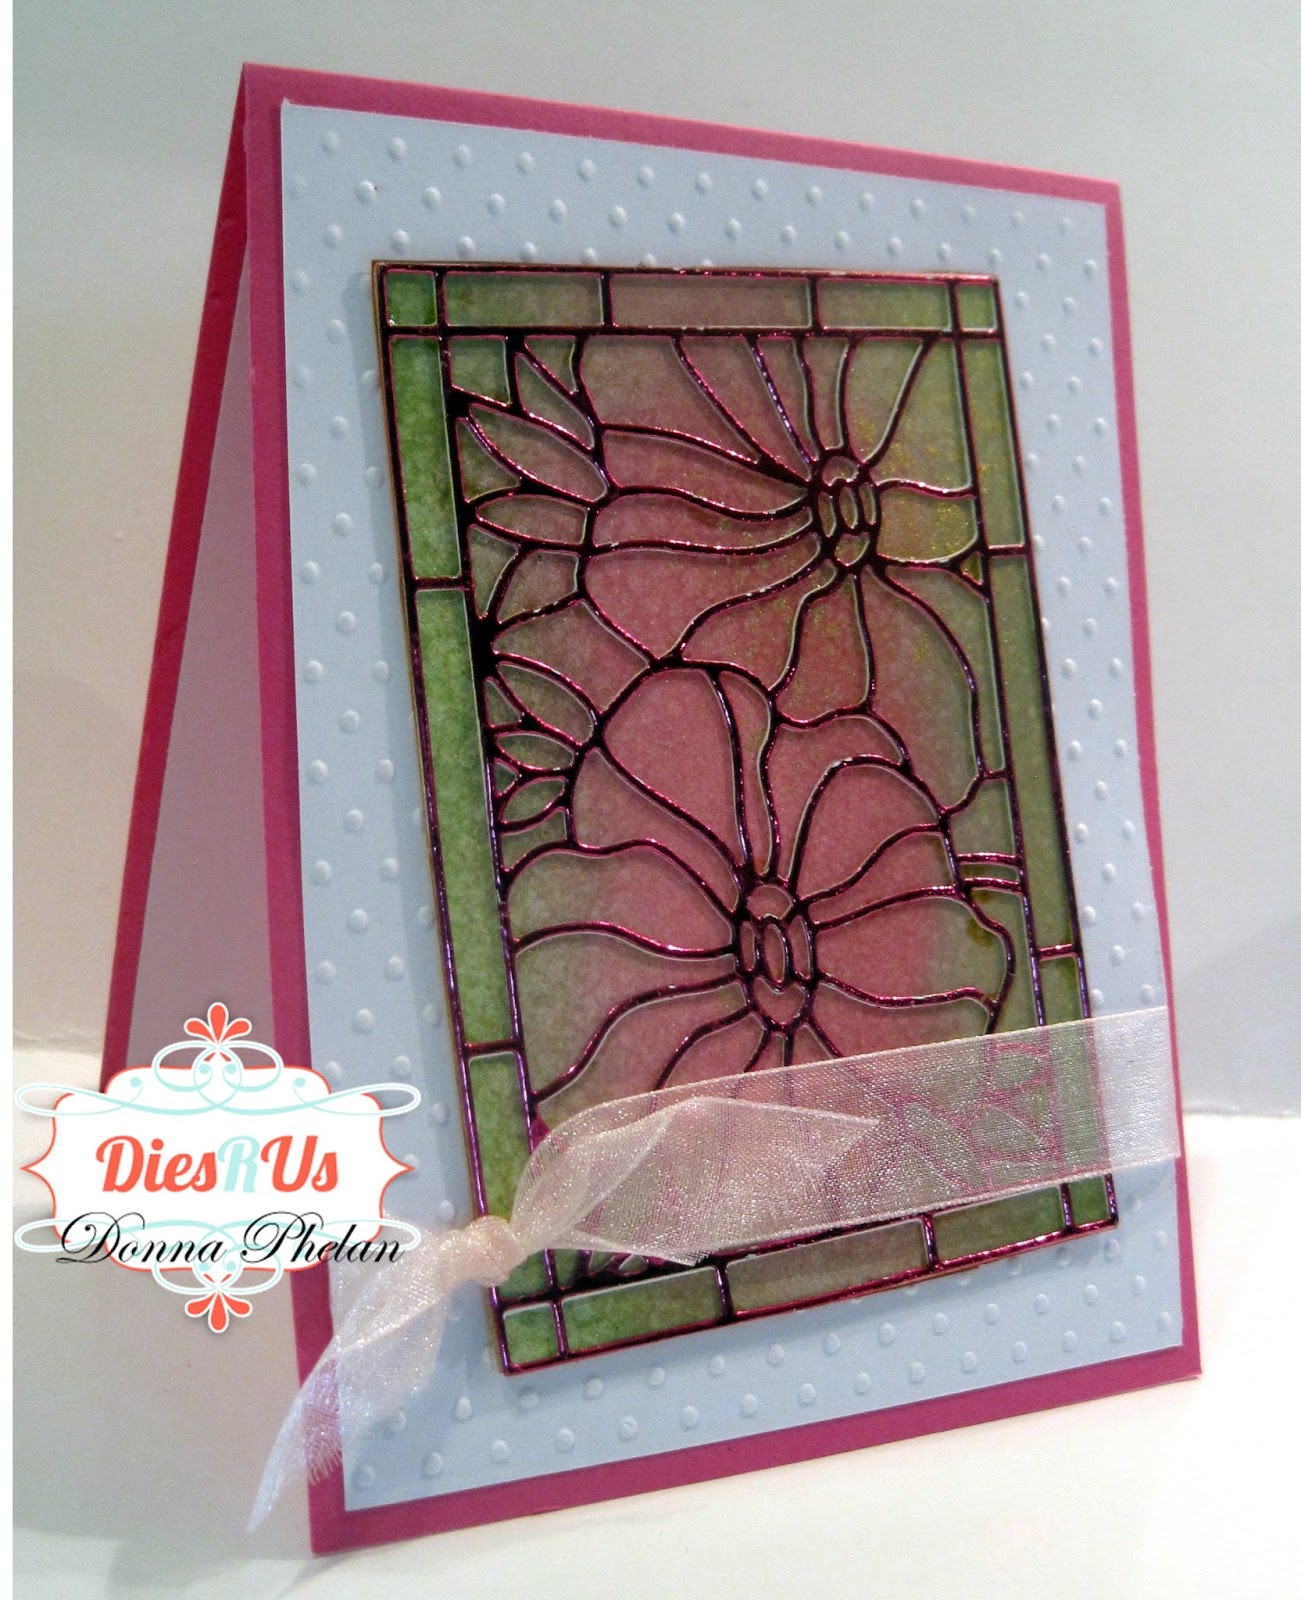
Just whipped up about 20 of these simple Poinsettia Thank You cards....I kind of love them!

These will be entered into the Challenges at; Stamp TV, Thank YouSimon Says Wednesday, Anything Goes and Penny Black, CAS.  I will also enter these at All Sorts, Seasonal Flowers.


I used the Gina K Designs stamp sets; Perfect Poinsettias and Lots Of Thanks.  The Poinsettia is a 4 stamp layering process, 4 for the pink petals and 4 for the yellow centers.  Soooo it really is a lot of stamping for a set of 20 of these.  Plus the sentiment.  Thankfully a few years back my dear friend gifted me with a Misti.....PHEW!  Makes all the difference!  


Using a pale blue Copic Marker I outlined the Poinsettia to add a bit more depth.

Inks;
Raven Black
Pink Pirouette
Melon Mambo
Rose Red
So Saffron
Daffodil Delight
Crushed Curry

Card Stock; 
Pink
Black
Yellow
White

Each card measures 4" x 4" and if you place them in a regular size envelope
there is no extra postage.

Thanks for stopping by, I appreciate it when you do!

Wine Tags

Good Morning! 

Counting down the days til 2018!  May you all have the happiest and healthiest of New Years!  Can't imagine spending a whole year with sweet little Penny....pure JOY!

On to my creations which will be entered into the Challenges at; Power Poppy, 12 Days Of Christmas--Day 11Simon Says Monday, PartySimon Says Wednesday, Anything Goes, and Scrapy Land, Anything Goes.


Each tag measures 7.5" x 2.75", scored at 2.5".


I used the Simon Says stamps sets, Adult Beverages and Adult Beverages Sayings
Images colored with Copic Markers. 
Bottle Neck hole made with a Spellbinders Standard Circle die.


Raven Black ink 
Sheer Ribbon
Button
Twine
Sequins


Papertrey Ink Uncorked stamp and die sets.
Bottle Neck hole made with a Spellbinders Standard Circle die.


Swiss Dots Embossing Folder
Raven Black ink
Thin Ribbon
Adhesive Pearls
Large Sequins


Thanks for POPPING in!

Enjoy~~

Friday, December 29, 2017

Layered Tag

Good Morning!

This sweet little Layered Tag will be entered into the following Challenges; Power Poppy, The 12 Days Of Christmas--Day 1 and Simon Says Wednesday, Anything Goes!


Power Poppy stamp set, Fully Stocked. Images colored with Copic Markers.  My layered tags were made with the MFT, Stitched Traditional Tags die.  Darice Snowflakes Swirl Embossing Folder.


Eyelet
Pink and White Gingham Ribbon
Sequins
Twine 
Heart Button
Wink Of Stella 
Corner Punch


Perfect for topping a little girl's present.

Thanks for popping in!

Enjoy~~

Thursday, December 28, 2017

Gift Card Holder

Good afternoon! 

Hope you all had a wonderful Christmas, this was our very 1st one as Grandparents...MAGICAL!

I made this little Gift Card Holder and will be entering in to the Challenges at; Power Poppy, 12 Days Of Christmas--Day 2Stamping Sensations, Winter Trees And Flowers, Scrapy Land, Anything Goes 
and Simon Says Wednesday, Anything Goes!


Power Poppy Holly Golightly stamp set.  Raven Black ink images colored with Copic Markers. 
I fussy cut the image out and layered to my front panel.


I also fussy cut out the Holly image, so pretty!  I created the pocket to hold the gift card and die cut using a Spellbinders Classic Oval die.  Sakura Glitter Pen.  Designer Paper from my stash.


Our Sleeping Beauty, Penelope Joy.


And Gramps Is Such A Natural!


Thanks so much for stopping by!

Happy New Year!

Enjoy~~

Wednesday, December 20, 2017

Double D, Baby It's Cold Outside--Winter

Good Morning!

A brand new Challenge is up and running over at the Double D Challenge Blog. 

Check out this Inspirational Tile!

 
Time to chill out!


I Heat Embossed my trees in White Powder, they are from PTI, Joyful Christmas all on a Spellbinders Small Labels die cutI then splattered White Craft Paint all over, it gives off quite a chilly effect!  My Designer Papers are by DCW, Ice Crystals.  


Tim Holtz Holiday Words Script dies, Merry was cut twice out of White Glitter Paper.  Sheer Ribbon, White Enamel Dots, Iridescent Sequins, Silver Twine and a fabulous large Rhinestone Button--which I think came from one of my Holiday Sweaters.  (you know that little plastic bag they add one or two extra buttons too?  Don't throw them away.....ever!!!).
 
This card will be entered into the Challenges at; Stamping Sensations, Winter Trees And Flowers and Scrapy Land, Anything Goes!
 
Please come on over to the Double D Blog and join in all of the FUN!  You'll be glad you did as there is always a pretty prize up for grabs!
 
Here's the prize for Baby It's Cold Outside--Winter Challenge.


Cool, right?!?!
 
Enjoy~~


Tuesday, December 12, 2017

Stained Glass Poppies

Donna Phelan back again on the Dies R Us Inspiration Blog,
sharing a very simple feminine card with you today.
 
I have used the beautiful Tutti Designs Stained Glass Poppies. 
I have kept my design clean and simple as I wanted this beautiful die to shine through!


I cut the pretty Poppies Frame from Hot Pink Foil.  Again, I always make up sheets of pretty Foiled Paper by using my Mini Minc and Toner Sheets.  It's so wonderful to keep a stash on hand.  I sponged inks on to White card stock in pinks and greens, creating my pretty background.


My only accents are a little bit of texture from a Swiss Dots Embossing Folder and a sheer Pink Ribbon tied into a simple knot.  I did not add anything to the inside nor did I add a sentiment, this way I can use it for any type of Happy Mail!


Just a wee bit of dimension.  No extra postage needed!


Here's what I used: 


Thanks for popping in!

Enjoy~~

Come join in all of the fun at the Dies R Us Challenge Blog.  There's a new challenge theme offered on the 1st and 15th of each month and one lucky randomly drawn winner will receive a gift voucher prize to the Dies R Us Store.  For your convenience, all the important Dies R Us links are provided below.
click below for:


Wednesday, December 6, 2017

Double D, It's Beginning To Look A Lot Like Christmas

Good Morning!
 
A brand new Challenge is up and running over at the Double D Challenge Blog. 

Check out this Inspirational Tile!


Fa La La La La


I used several dies for this Festive card;
Die Namics, Crossed Stitched Rectangles
Paper Smooches, Foliage 2
Die Versions, Sweet Petite tree
Cheery Lynn, Holly Leaf 4
Impression Obsession, Poinsettia Set Small
 
I cut my 'images' in White card stock so they would POP against the Red background.


Tree


Holly


Poinsettia


A little strip of Designer Paper in Christmas Plaid.
Red and White Gingham Ribbon.
Sentiment from Gina K Designs, Season's Greetings, stamped in Raven Black ink.
 
Merry Merry!
 
Enjoy~~
 
 
Please come on over to the Double D Blog and join in all of the FUN!  You'll be glad you did as there is always a pretty prize up for grabs!
 
 
Here is the FAB prize for this Challenge:


Tuesday, December 5, 2017

Happy Birthday, Hank

Hello!  Back again on the Dies R Us Blog
 
 
Today happens to be my Grand Fur Baby, Hank's 4th Birthday! 
So of course, I had to make him a birthday card.  With a new baby in the house
we don't want him to feel neglected....trust me, he is not!


I used the fabulous Tutti Designs Stained Glass Dog.  Isn't he just the sweetest?  I cut out the frame in Gold Foil, which I created using Toner Paper and my Mini Minc Machine.  Here's a simple tip:  I always create sheets of foil, that way I have a bunch of pretty colors to use my dies on.  I backed the Gold Foiled Frame on to Double Sided Adhesive Paper and then started to fill in the open areas with Glitter in many different colors.  Now let me tell you....do not do it this way!  Ever!  It is labor intensive and the glitter typically does not go where you want it to go.  lol  You may want to try adding all white or clear glitter and then just coloring it with markers.  You could also add a Vellum backing and color on the backside of that to let the colors shine through.  I will definitely use these options the next time!  The Double Sided Adhesive paper really hangs on to the Glitter though, so that's a plus! 


I ended up cutting the frame 3 times to build up some dimension.  A few paw prints and a Puppy Love greeting on the inside and my card was complete. 


He is quite sparkly!


Here's what I used:


And here's a few pictures of our lovable Hank!


Come join in all of the fun at the Dies R Us Challenge Blog.  There's a new challenge theme offered on the 1st and 15th of each month and one lucky randomly drawn winner will receive a gift voucher prize to the Dies R Us Store

For your convenience all the important Dies R Us links are provided below.
click below for:


Sunday, December 3, 2017

CAS JOY To The World

Back again!

I finally decided to make 20 CAS Christmas card designs.  This to me, is a mass production.  I know there are some of you who do a lot more than 20.  But I have about 30 Christmas cards made in a variety of themes and I always make 40 Beach Photo Christmas cards (which is a lot quicker than making a 'real' card).  I really would love to scale back, but I fear I may have to make even more.

These will be entered into the Challenges at; Simon Says Monday, Star Light Star Bright, Simon Says Wednesday, Anything Goes, and Penny Black, Clean And Simple.

Here is my CAS Christmas card collection.


I started with a design in pinks, not really what I was going for. 
Sentiments embossed in pink too.


Designer Papers by PTI


I switched over to a more rustic look.  Again, using Designer papers by PTI.
Stitched Nesting Stars by Tutti Designs
Stamped Flourish by Stamp Of Approval, Beautiful World Collection
Sentiments also by PTI; Wonderful Words Joy. Heat embossed in White.


Today's Tip:  Always make sure when using your Misti that you place the card base in the correct way, otherwise, use a handy dandy piece of Washi Tape to conceal the evidence lol.  Thankfully I only did this once, now who will be the lucky recipient of that?  HA!
 
Thanks for coming by.
 
Merry Merry!


Joy To The World

Good Morning!

I'll have a few quick posts for you today!

This first card will be entered into the Challenges at; Papertrey Ink, Love Of Layers, Simon Says Wednesday, Anything Goes and Stamping Sensations, Winter Trees And Flowers.


I created many layers, in ink and paper. 
 
Papertrey Ink Products; Spruce And Sprigs stamps.
Wonderful Word Joy die. 
Designer Paper; Holiday Flourishes And Swirls.
Corner Punch.
Inks; Wild Wasabi, Pear Pizzazz, Always Artichoke
Pink Pirouette, Melon Mambo
So Saffron, Tangerine Tango, Real Red
Raven Black
All colored inks were layered upon each other to bring a bit more depth.
I layered the JOY die cut 3 times to add more dimension.


Eclipse JOY.


Can you see it. JOY?


7 paper layers in all.
 
Thanks for popping in.
 
Enjoy~~


Wednesday, November 29, 2017

Happy Happy Joy Joy

Good Morning!
Back again for one final post on the Tutti Designs Blog.
 
I am so happy to have been a part of this wonderful Design Team here at Tutti Designs. 
So many wildly talented ladies!  Although I am leaving here I am always around. 
Thanks so much for everything.....especially you, Darlene! 
I am proud to call you my friend!  xoxo
 
This card sums up my feelings to all things Tutti Designs!


I used the fun Nesting Stitched Banners die set.  Aren't they great?!?  This set includes 7 dies.....SEVEN DIES!!!  That's amazing!  Perfect sizes for all of your card making needs!  Typically the banners are used vertically, here I have used them horizontally.  I die cut 5 and placed them on top of a piece of Teal and White Baker's Twine.  Reminds me of celebration flags you would see flapping in the breeze on a boat.


I splattered Heidi Swapp Color Shine in Sweet Mint on my White card stock panel.  Then stamping my sentiments in Calypso Coral and Melon Mambo inks.  Gina K Designs stamp sets; Let It Snow and Mistletoe Memories.  A very simple card to make, but I just loooooove it!  Nuvo Crystal Drops in Carnation Pink for accent.
 
 
Here's what I used:


Everyday you will find new and creative ideas right here, on the Tutti Designs Blog!

Need More?  Check out these Quick Links:


HAPPY
HAPPY
JOY
JOY
 
 
Thanks so much for everything!!!


Tuesday, November 28, 2017

Poinsettia Tag

Hello!  Back again on the Dies R Us Inspiration Blog
 
It's the end of November time to get serious about finishing up some Christmas cards!
 
Here's what I have for you today!


I used the beautiful Memory Box Plush Poinsettia Corner die.  I cut once in White and then in Hot Pink layering the pink petals back in to the white base die.  Check out all of that texture on the pretty petals.  I decided to make a faux window by layering 2 Tutti Designs Nesting Stitched Tags together, leaving just a border.  On the back of the cut I added a piece of Vellum and White card stock--which I also added texture to using a Swiss Dots Embossing Folder.


Cut a smaller Stitched Tag for my sentiment and stamped image. 
 
I love these colors in Turquoise, Pink and White.  Non Traditional Christmas colors for sure, but I like their bright cheery effect!


I only adhered the very top of the sentiment tag so you could curl the end of it, this lends just a bit more dimension to the card.
Sheer Ribbon and Adhesive Pearls, which I colored with
Copic Markers to coordinate with my card stock.

Power Poppy stamps; Simple Joys and Glistening Paperwhites.

This card will also be entered into the Challenges at;  Scrapy Land, Anything Goes and Power Poppy, Portion Control
 
Fa La La La La


Here's what I used:


Enjoy~~


Come join in all of the fun at the Dies R Us Challenge Blog.  There's a new challenge theme offered on the 1st and 15th of each month and one lucky randomly drawn winner will receive a gift voucher prize to the Dies R Us Store
 
For your convenience all the important Dies R Us links are provided below.
click below for: